Orientation and Timing
You may find that your meditations are more effective when they are synchronised with the position and timing of appropriate celestial bodies. Chris Peat’s Heavens Above website is very useful for this.
If, for example, you desire to enhance your Jupiter/Saturn energies, you might consider meditating when Jupiter is aligned with Saturn. This will occur when both Jupiter and Saturn are crossing the meridian at roughly the same time. (The meridian is the imaginary line between yourself and the North and South poles.) If the planets are crossing within 20 minutes of each other, they are aligned within 5°.
The screenshots from the Heavens Above site may help. At Figure 1, you’ll see that, on 21 December 2000 in London, Jupiter and Saturn are in almost perfect alignment, crossing the Meridian at 14:08 GMT, with only 0.1° vertical separation (Jupiter’s Altitude is 17.9°, and Saturn’s Altitude is 18.0°).
On the same day, the Sun (Figure 2) is closely aligned with Mercury (Figure 1), crossing the meridian at 11:59 and 12:01 respectively. (December 21 is also the Northern Hemisphere Winter solstice.)
If you are in the Northern Hemisphere, you’ll face South using the compass on your smartphone (Figure 5) and position your body at an angle of 18° (Figure 4). In the Southern Hemisphere, you’ll face North and angle your body to suit the Altitude at the time the planets cross the meridian for your position. (To determine the relevant altitude, adjust the date and time to the Meridian Transit time, and press Update. )
Always ensure the location (in the top right-hand corner) is set for your actual location. (To adjust this setting, double-click on the box and scroll to the bottom of the page to find your location.)
By the way, while you’re at the Heavens Above site, don't forget to practice generosity by making a donation to support Chris’ efforts to provide this information … for free.

Figure 1: Planet Details

Figure 2: Sun Details

Figure 3: Moon Details
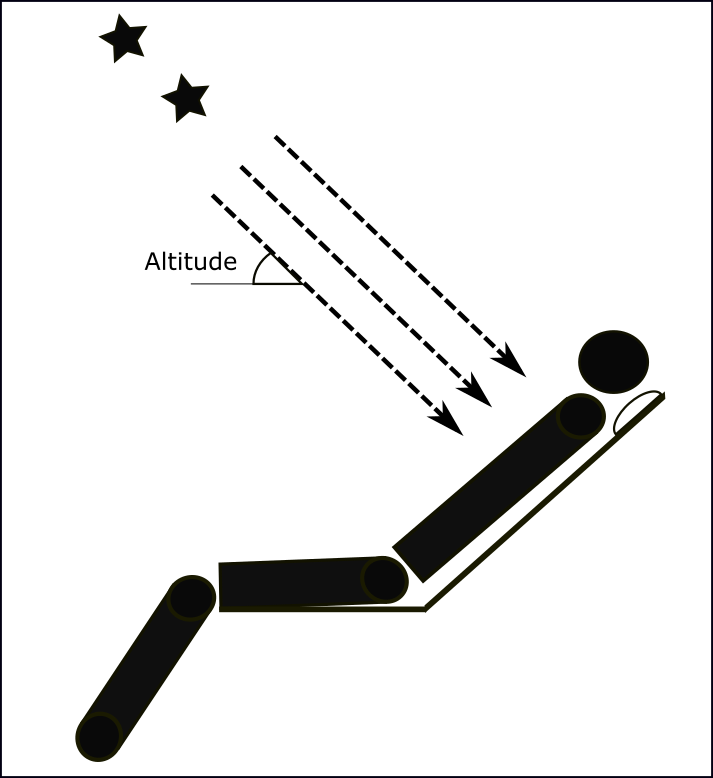
Figure 4: Orientation

Figure 5: Compass